
AdsPower Virtual Camera: How to Use Video as a Webcam in Browser Profiles
Take a Quick Look
Use video as a webcam in AdsPower profiles with clear setup steps and FFmpeg support. Improve workflow consistency and reduce setup hassle. Try it in your next profile.
Since AI agents and bots are used widely nowadays, websites are increasingly relying on webcam access for verification, onboarding, and interaction features. For users managing multiple browser profiles, this often creates practical limitations, especially when physical cameras are required for repeated or parallel sessions.
The AdsPower Virtual Camera feature provides an alternative by allowing a pre-recorded video to act as a webcam inside a browser profile. This article will show how the feature works, where to enable it, what technical requirements are involved, and what limitations users should understand before using it in real workflows.
What the AdsPower Virtual Camera Feature Does
The Virtual Camera feature allows a browser profile to simulate a live webcam feed using a local video file. When enabled, any website requesting camera access receives the uploaded video stream instead of a physical camera input.
This function is designed for controlled browser environments where consistency across sessions is important. Each profile operates independently, which helps maintain separation between different workflows while still supporting camera-based interactions.
Please note that this feature is only available for paid plans.
System Requirements Before Activation
The feature depends on specific system and browser conditions. Without meeting these requirements, it will not function even if enabled in settings.
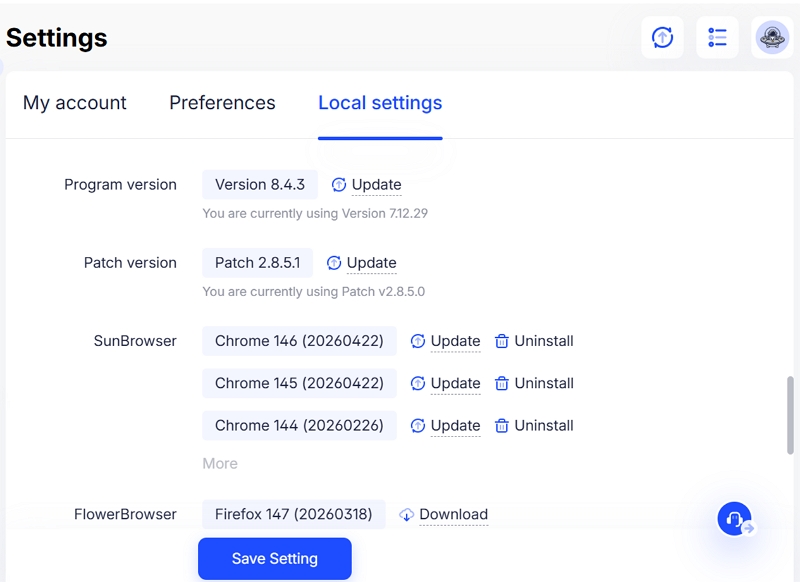
Key requirements include:
- Chrome kernel version 140 or higher
- Updated AdsPower JS version
If these components are not updated, the virtual camera will not activate inside profiles.
Where to Enable the Virtual Camera
You can find the setting inside the AdsPower software under:
Global Settings → Browser Settings → Enable virtual camera to simulate local video as a live camera feed
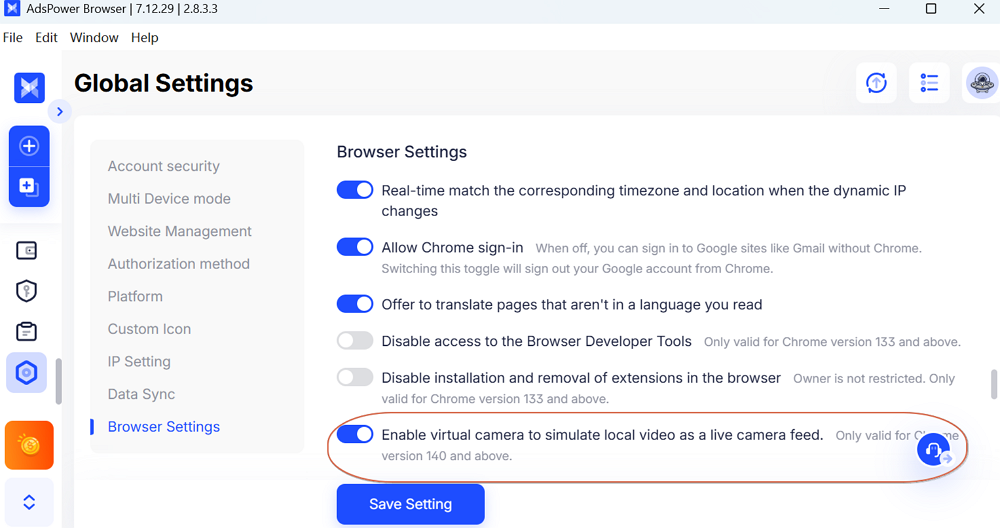
By default, the feature is disabled when first released. Users must manually enable it after confirming system compatibility. Once activated, it becomes available within individual browser profiles.
How to Set Up the Virtual Camera in a Profile
After enabling the feature, setting up inside a browser profile follows a simple workflow.
Step 1: Open a Browser Profile
Launch the profile where webcam simulation is required.
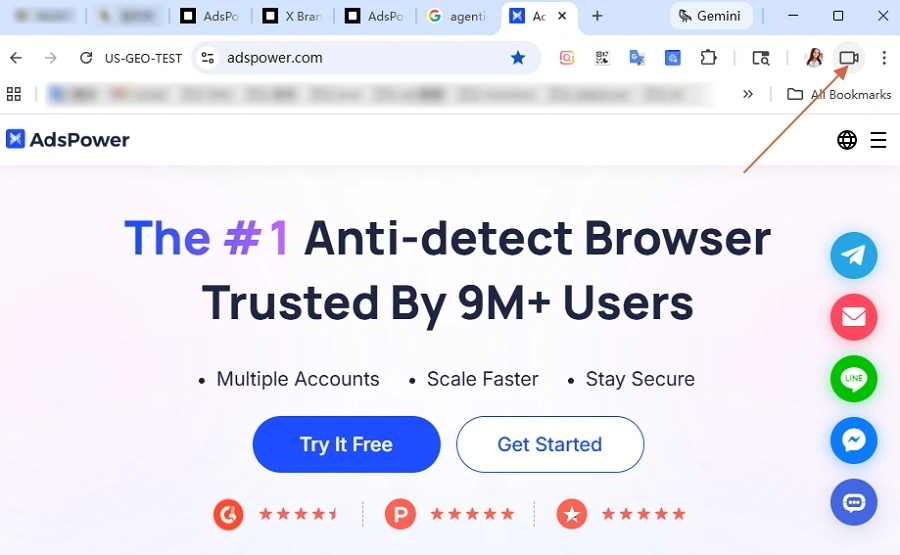
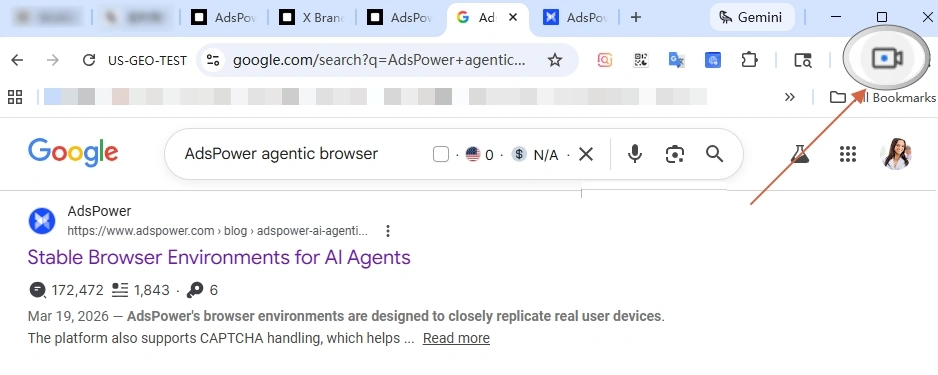
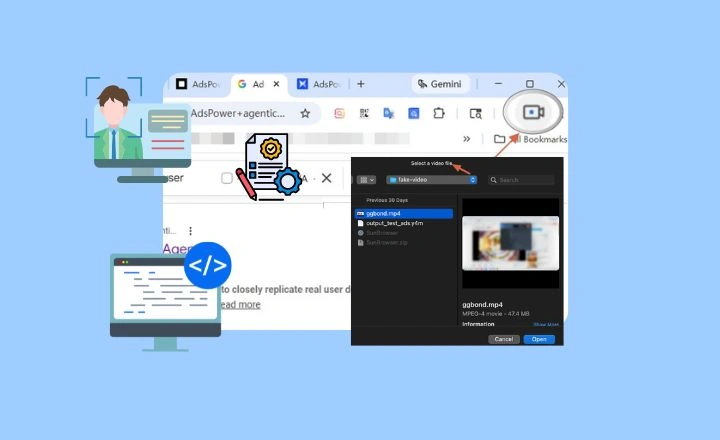
Step 2: Upload a Video File
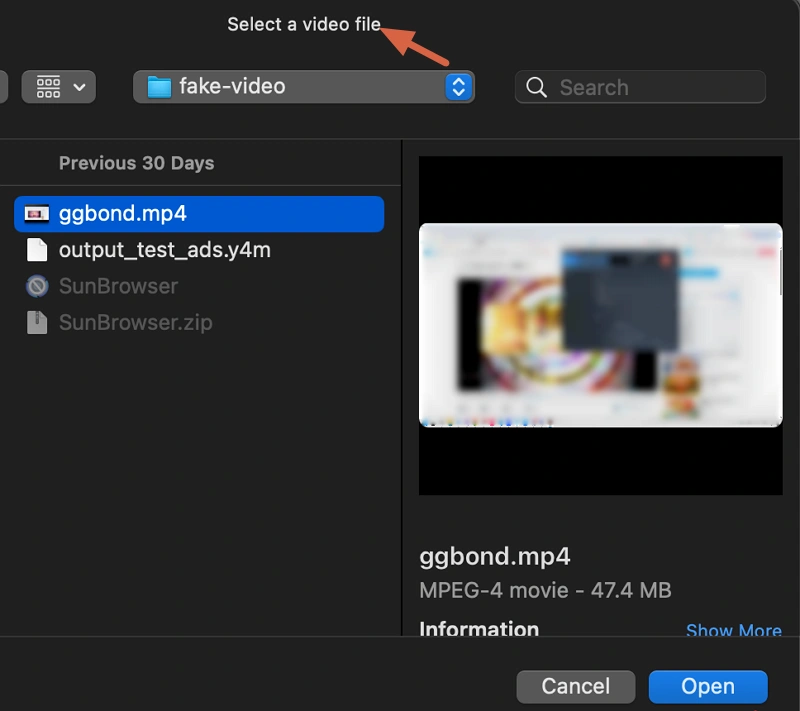
Click the camera icon inside the profile interface. A file selection window will appear, allowing you to choose a local video file. (Maximum file size is 4GB per video.)
Once selected:
- The upload process begins automatically
- The system displays upload progress
- After completion, the video becomes the active camera input
Step 3: Manage the Uploaded Video
After setup, users can click the icon again to delete the current video and replace with the new one. Only one active video works for per profile, which ensures that each profile has a single controlled camera source to prevent cross-profile interference.
Step 4: Automatic Camera Simulation
When a website requests camera access, AdsPower automatically streams the selected video as a live webcam feed. No additional actions are required during usage. In addition, the video is automatically cleared when the browser profile is closed.
Note: To ensure stable performance across environments, It supports the following formats:
- .mp4
- .mov
- .mjpeg
- .y4m
Actually, you are able to bypass the file format problem by installing FFmpeg to convert the video formats in AdsPower.
FFmpeg is a widely used tool for video processing. It supports format conversion, compression, editing, and more. In this case, it helps prepare videos for use with the Virtual Camera:
- Converts unsupported formats into .mp4 or .mov
- Reduces file size to meet the 4GB limit
- Adjusts encoding to avoid playback errors
Guide to Install FFmpeg on a Computer for a Virtual Camera
Method 1: Automatic Installation (Recommended)
For Windows 10 (version 1709 and above) and Windows 11, you can install FFmpeg using Winget.
1. Press Win + X and open Terminal, PowerShell, or Command Prompt
2. Enter the command:
winget install ffmpeg
3. Wait for the installation to complete
4. Close and reopen the terminal so profile variables take effect
Once installed successfully, FFmpeg is ready to use.
Method 2: Manual Installation
If you prefer a custom setup:
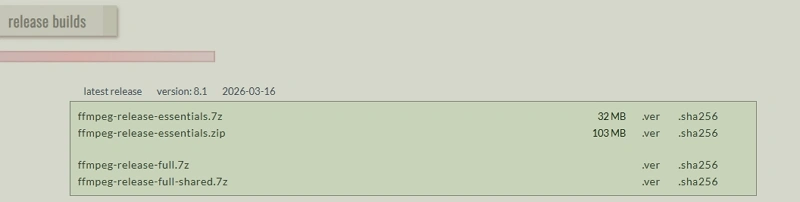
- Visit the official FFmpeg build site (gyan.dev).
- Go to the builds section and download the file named ffmpeg-release-full.7z
- Extract the file to your preferred directory.
After setup, restart your terminal to apply changes.
When to Use AdsPower's Virtual Camera
The Virtual Camera feature is most relevant in workflows where webcam access is required repeatedly across multiple browser profiles.
Common use scenarios include:
- Account verification processes requiring camera input, such as Claude, LinkedIn, etc.
- Testing environments for video-based web applications
- Multi-profile operations where consistent camera input is needed
By using a pre-recorded video, users can maintain uniform behavior across sessions without relying on physical hardware availability.
Conclusion
The AdsPower Virtual Camera feature gives you a practical way to handle webcam requests without relying on physical devices. It does require the right system updates and an active paid plan, but once everything is set up, it works smoothly within your existing browser profiles.
Using a pre-recorded video helps keep camera behavior consistent across different profiles while still preserving profile isolation. As long as you follow the format and file size requirements, the feature can run reliably in day-to-day operations.
FAQ
Why do I encounter an error: "File too large, please replace or retry"?
The video exceeds the 4GB size limit. A smaller file must be used.
How to fix the error of invalid format?
If the notification asks you to upload another video due to the unsupported file format, you can convert the format and try again. Or you can also try to install FFmpeg to deal with more video formats. In the AdsPower browser, users can primarily perform format conversions on videos from virtual webcams.

People Also Read
- AdsPower Reddit Creator Program: Share Your Reddit Post and Earn Up to $30

AdsPower Reddit Creator Program: Share Your Reddit Post and Earn Up to $30
Join the AdsPower Reddit Creator Program. Share an original Reddit post about AdsPower and earn up to $30 after review.
- What's New in AdsPower Browser in June 2026?

What's New in AdsPower Browser in June 2026?
Discover AdsPower June 2026 updates with Chrome 149, Firefox 150, Linux support, improved proxy management, Network Diagnostics, and enhanced profile
- AdsPower Creator Program: Share Your Experience, Earn Up to $210

AdsPower Creator Program: Share Your Experience, Earn Up to $210
Join AdsPower Creator Program! Earn up to $200 + $10 participation bonus by sharing your AdsPower experience. Campaign runs June 23 - July 6.
- What's New in AdsPower Browser in May 2026?

What's New in AdsPower Browser in May 2026?
Learn about AdsPower's May 2026 updates, including Chrome 148, Network Diagnostics, gyroscope settings, proxy auto-renewal, and improved profile
- AdsPower at Island Conference 2026: Highlights from Booth EA10

AdsPower at Island Conference 2026: Highlights from Booth EA10
AdsPower joined Island Conference 2026 in Cyprus, meeting affiliates, advertisers, and partners from the iGaming, crypto, dating, and nutra industries
